 English
  Français
 Deutsch
 Español
 Italiano
 Nederlands
 Português
 Русский
 中文 (中国)
 한국어
한국어 日本語
日本語 Svenska
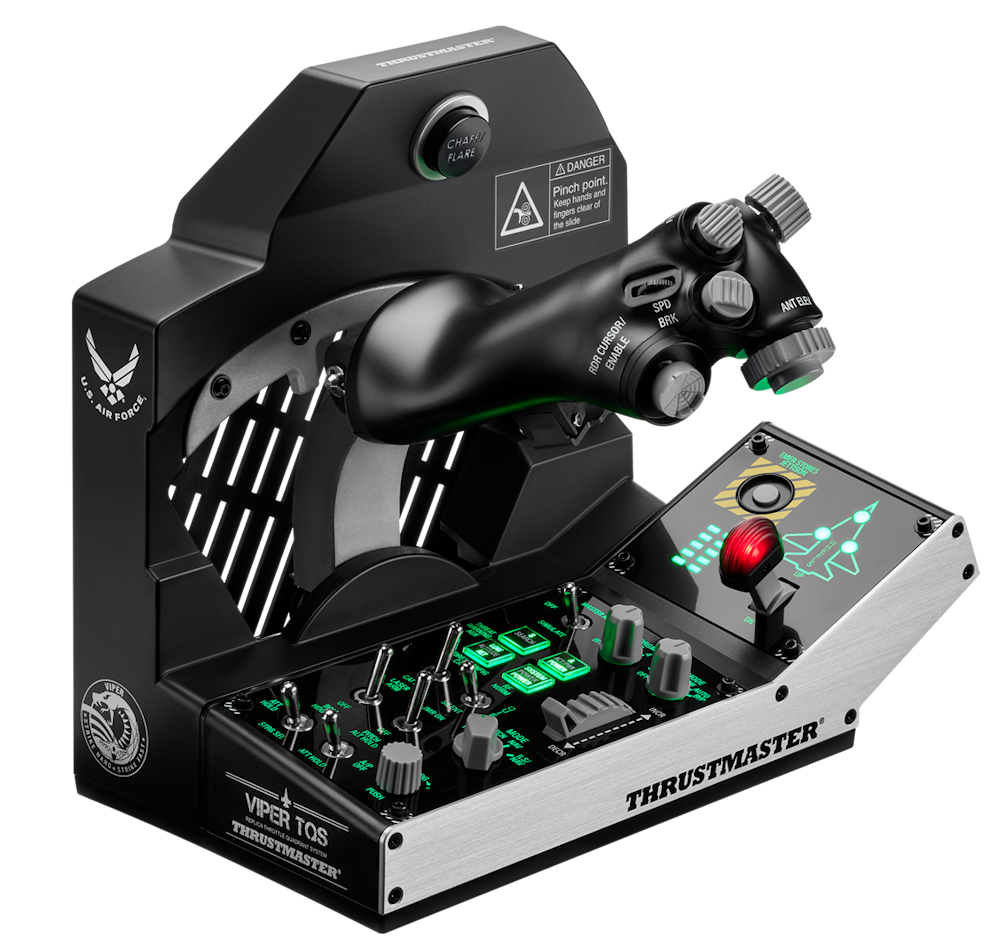
This article shows the Viper TQS calibration which allows you to revalidate the physical center, minimum and maximum axis values in the internal memory of your Viper TQS.
Note:
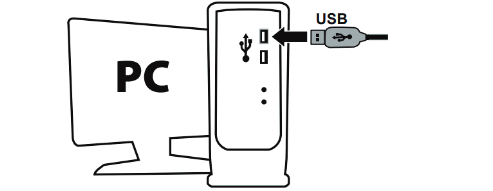
Since the calibration is saved in the device, it will be done without using any software. Your PC will only be used to connect the Viper TQS to a USB port.
Important:
We recommend directly connecting the Viper TQS to a USB port on the PC with its USB-C / USB-A cable.
- We recommend avoiding the use of a USB HUB, a USB extender and any connection extension.
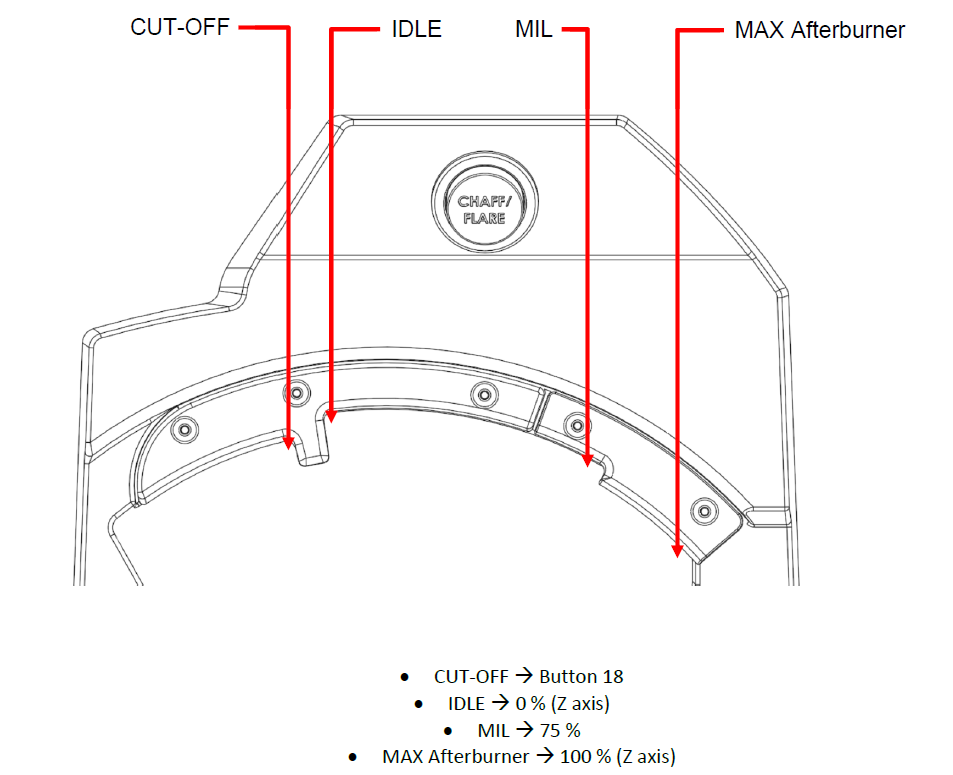
Noticeable positions of the throttle:
1- To get started, your Viper TQS must be unplugged from the PC
2- Put the throttle in IDLE position

3- Start calibration
- Press and hold the Communication Hat (button 5)
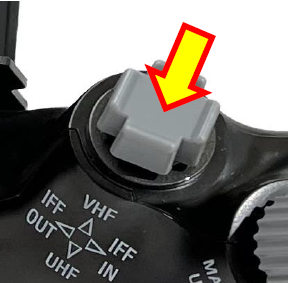
- Connect the Viper TQS to a USB port on the PC
- Wait 3 seconds then release the Communication Hat
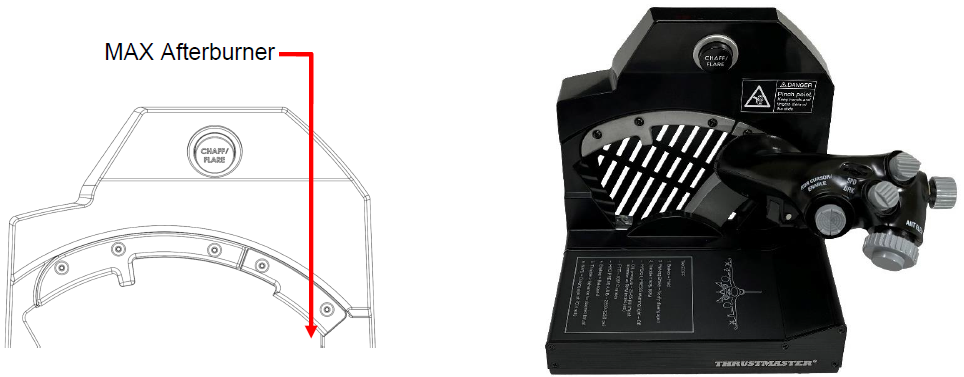
4- Calibrate the throttle (Z axis)
- Push the throttle to the MAX Afterburner position.
- Pull back the throttle to the MIL position.
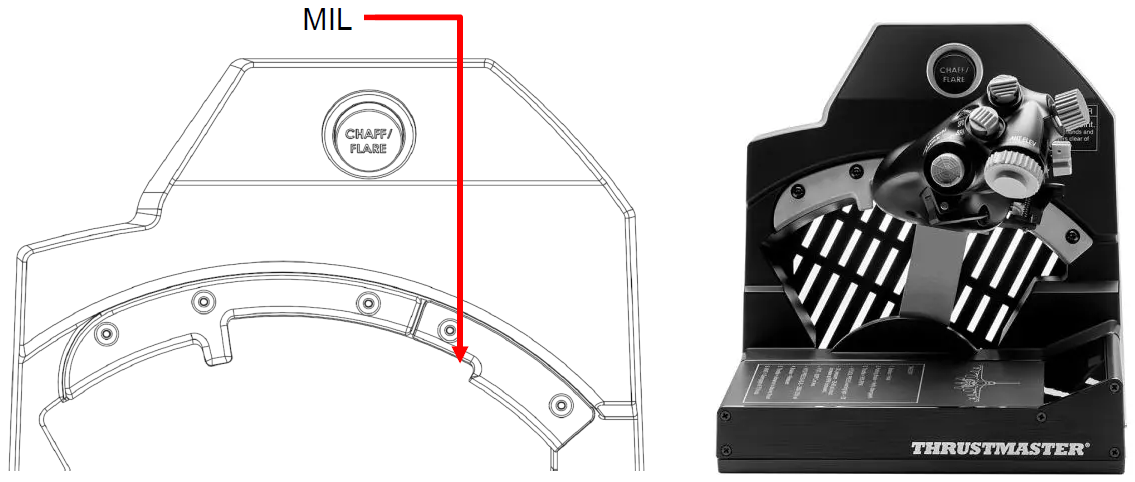
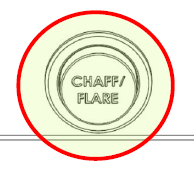
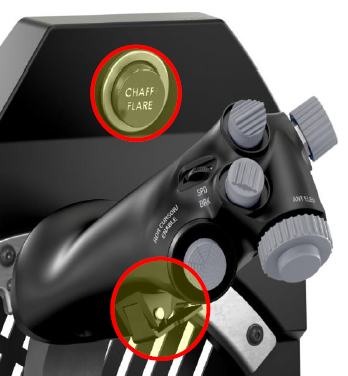
Press the CHAFF/FLARE button (button 16) to save the MIL position.
5- Calibrate the mini-stick and rotary knobs
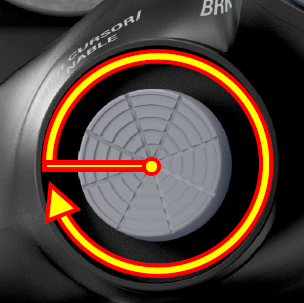
5.1- Mini-stick RDR CURSOR/ENABLE (XY Axis)
- Move slowly and without applying too much force on all maximum positions of the mini stick.
5.2- ANT ELEV knob (RY axis)
- Slowly turn the knob clockwise until it stops, turn it counterclockwise until it stops, and then return it to the center detent position.

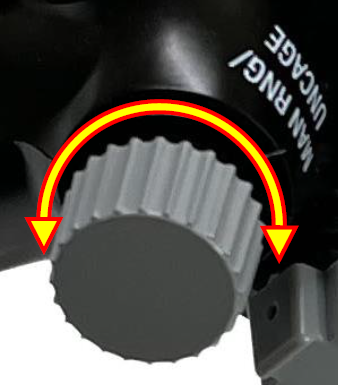
5.3- MAN RNG/UNCAGE knob (RX axis)
- Slowly turn the knob clockwise until it stops, turn it counterclockwise until it stops, and then return it to the center detent position.
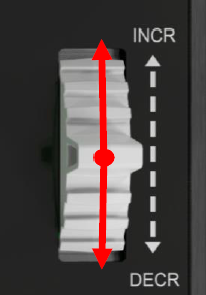
5.4- TRIM (RZ Axis) on the Viper Panel
- Gently push the dial to its highest value (INCR) then pull it to its lowest value (DECR), firmly and without forcing.
- Press the Communication Hat (button 5) to validate the calibration.
6- Set the “Afterburner detection” position (button 19)
- Put the throttle in the MIL position.
Then simultaneously press CHAFF/FLARE (button 16) and Blackout (button 17) buttons to validate.
You are ready to play!