 English
  Français
 Deutsch
 Español
 Italiano
 Nederlands
 Português
 Русский
 中文 (中国)
 한국어
한국어 日本語
日本語 Svenska
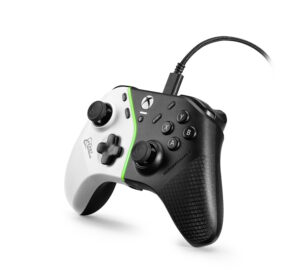
Platforms:
PC natively running Windows® 10/11 or more recent
Game consoles: Xbox One™, Xbox Series X™, Xbox Series S™
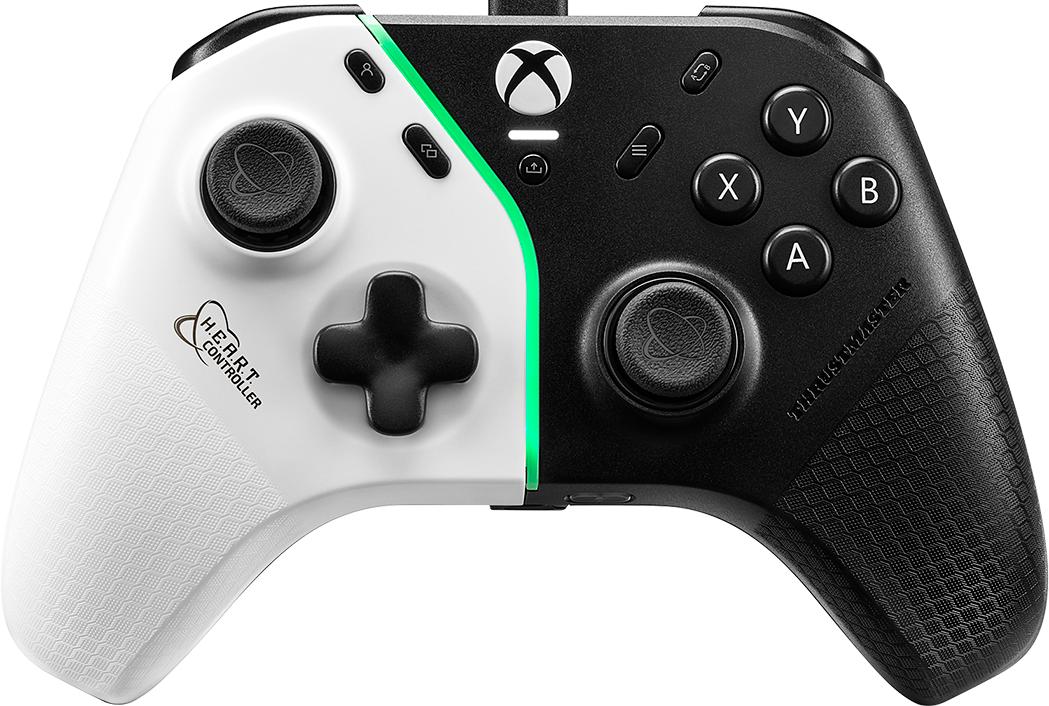
This article shows you the steps for calibrating the mini-sticks for the Heart Controller.
Calibration lets you to optimize the precision and settings of your mini-sticks both physically and in your game. It also lets you re-center the mini-sticks.
Calibration can be done by connecting your Heart Controller to a PC or an Xbox console.
/! IMPORTANT
Rotate BOTH mini-sticks during the calibration process (one after the other or both at the same time provided BOTH are rotated during the procedure). If one of the two mini-sticks is not rotated, the calibration will automatically restart at step 1, with the LED bar blinking.
1- To get started, your Heart controller must be disconnected from the USB port.
2- Press and hold “X” and “B” buttons.
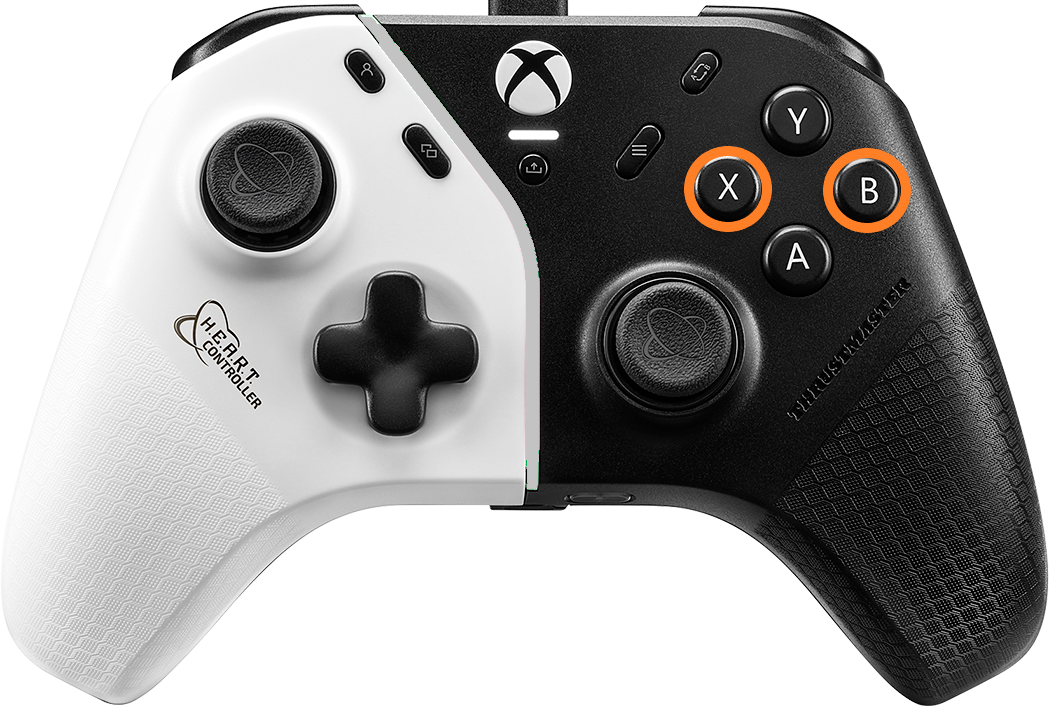
Connect your Heart Controller to a USB port on the PC or Xbox console by holding down the X and B buttons.
3- Keep “X” and “B” buttons held down and press the Xbox button, then release the buttons
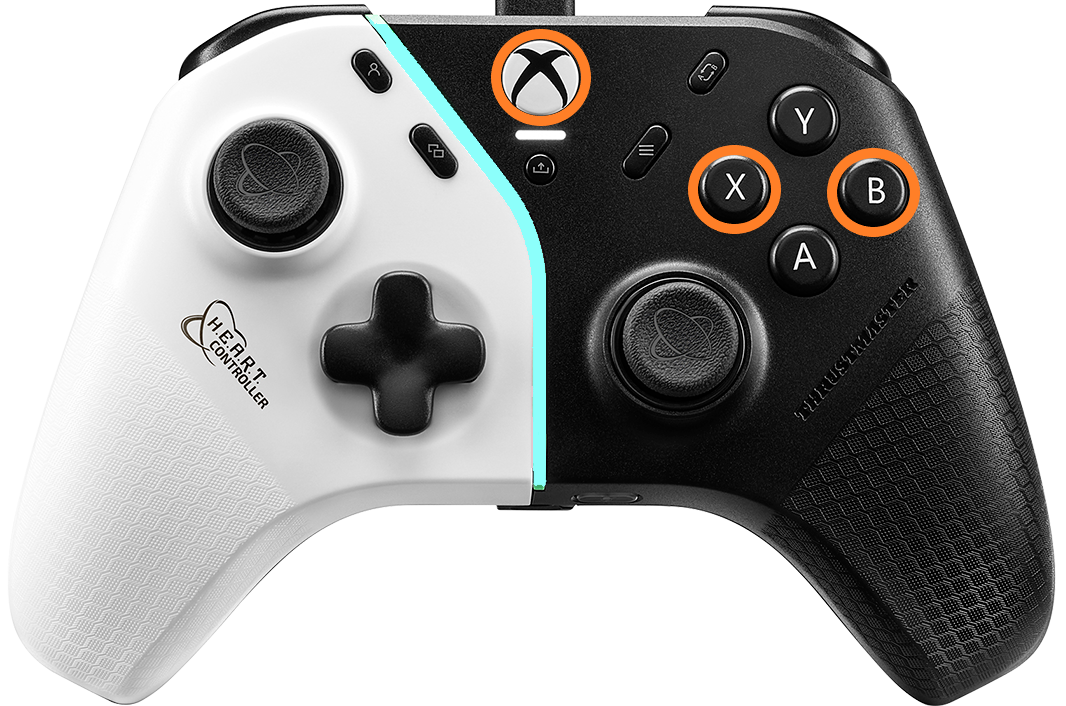
The LED bar must flash white.
4- Ensure the mini-sticks are in their “unused” neutral position.
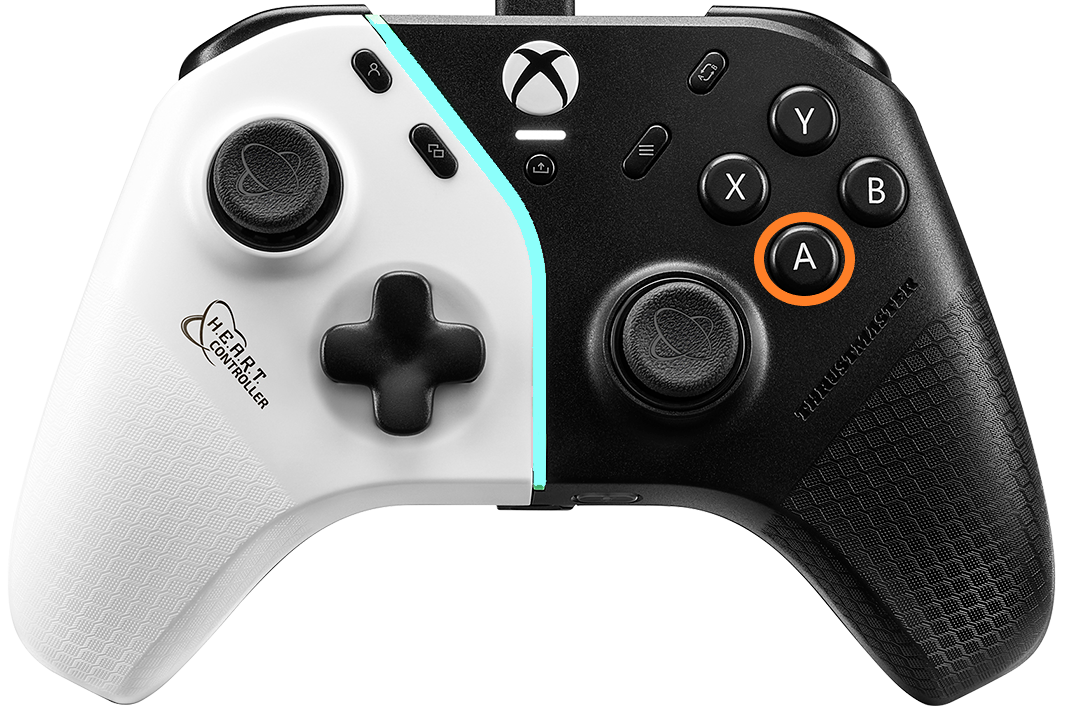
5- Press “A” button.
The LED bar flashes faster.
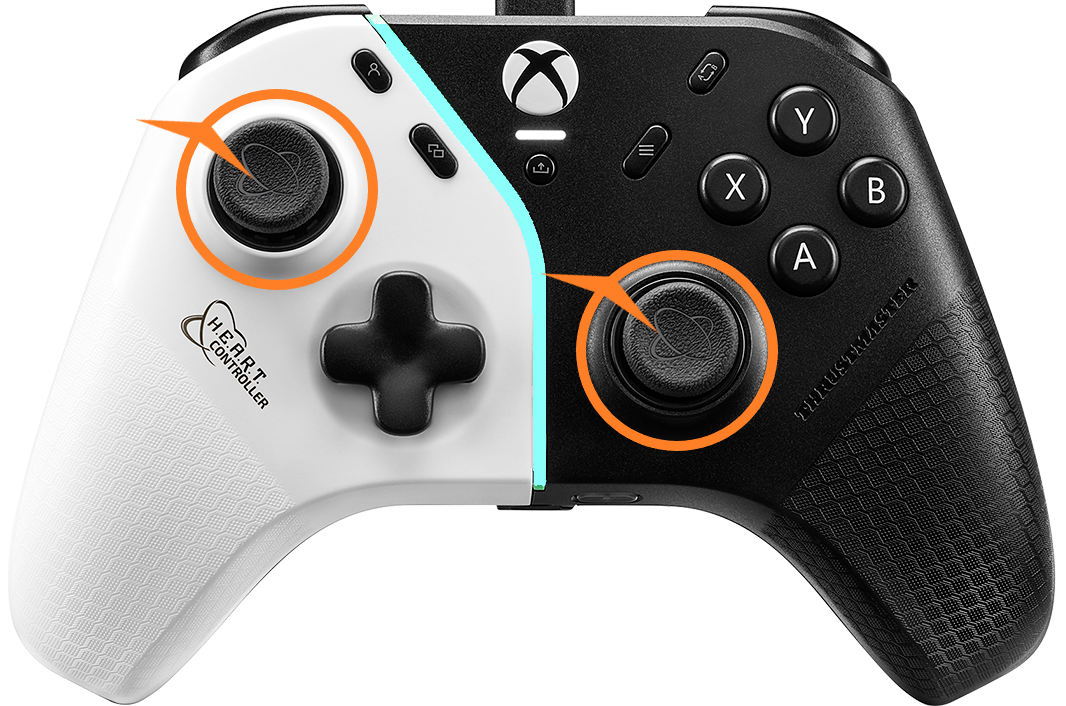
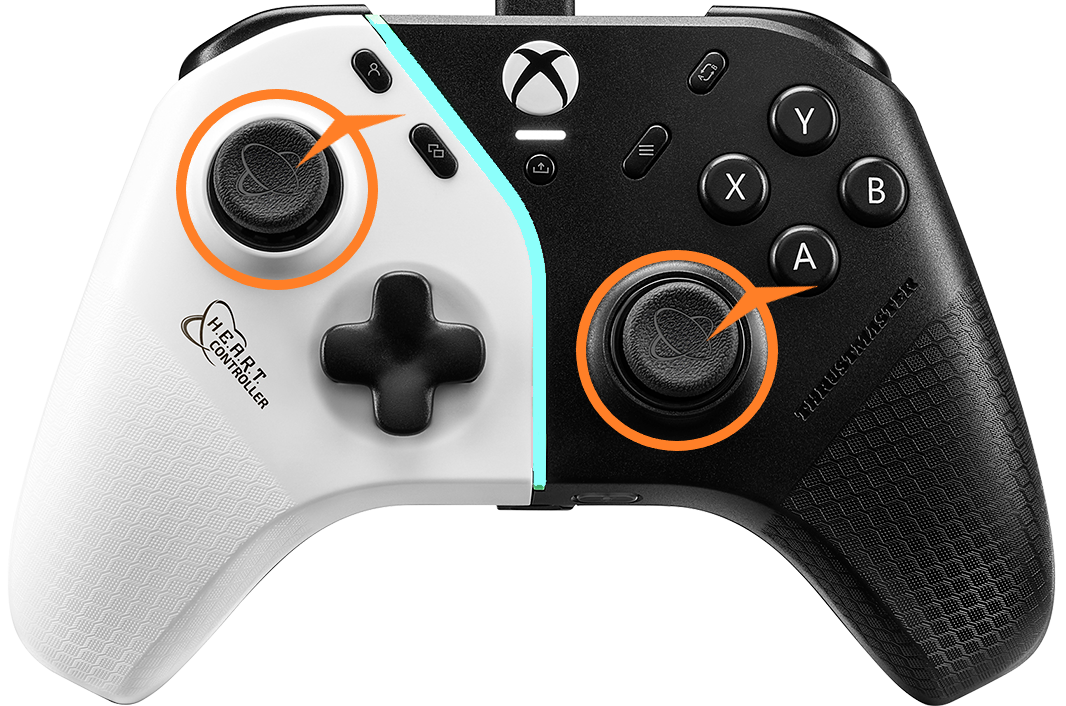
6- Rotate each mini-stick 3 times clockwise then 3 times counterclockwise making sure they touch the ring around
3 times clockwise.
3 times counterclockwise.
7- Press “A” button to save the calibration.

The LED bar lights up green: calibration is saved.
8- End of calibration
The LED bar briefly lights up white to show that calibration is completed.
Then the LED bar returns to its usual colour.
9- Disconnect and reconnect the Heart Controller
You are ready to play!